
Lytho Instructions
Creating an Account
Visit https://pledgeminellc.wf.lytho.us/settings/user/user-self-registration and follow the instructions.
Logging In
Make sure to bookmark https://pledgeminellc.wf.lytho.us/ for future log-ins
Making a New Project Request
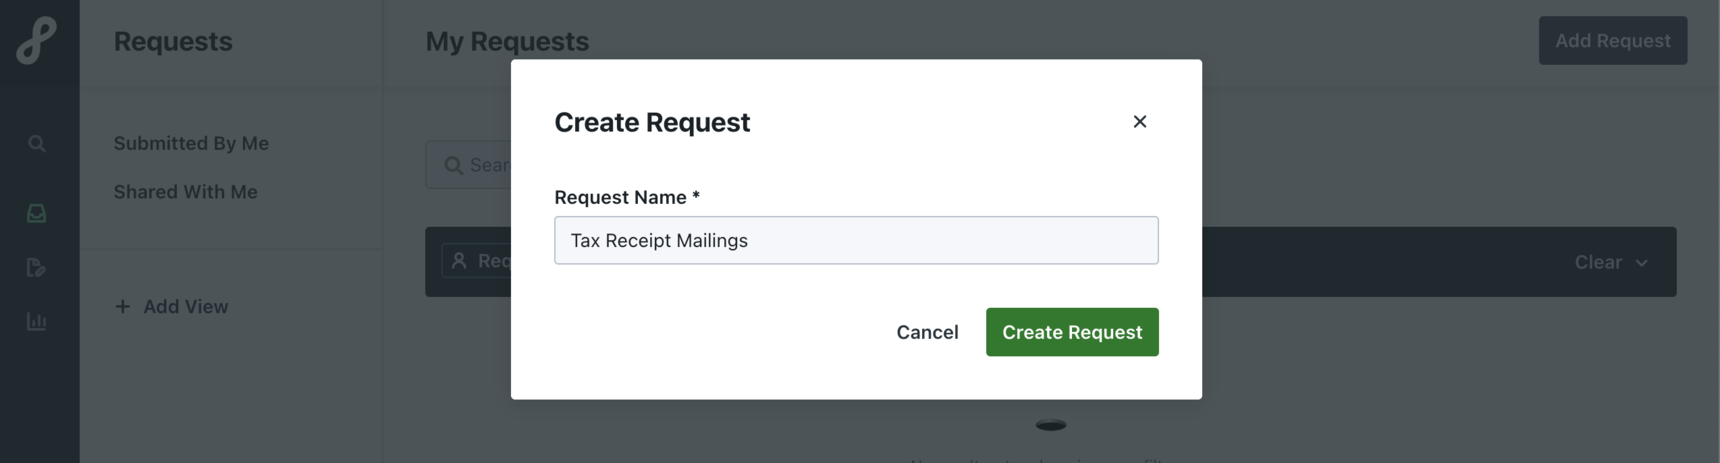
- Once you have all materials, click on ‘Add Request’ in order to start a new project.
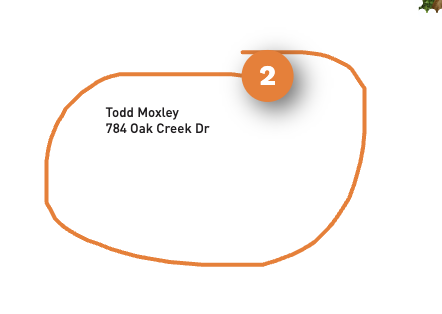
- Create a project name for your request.
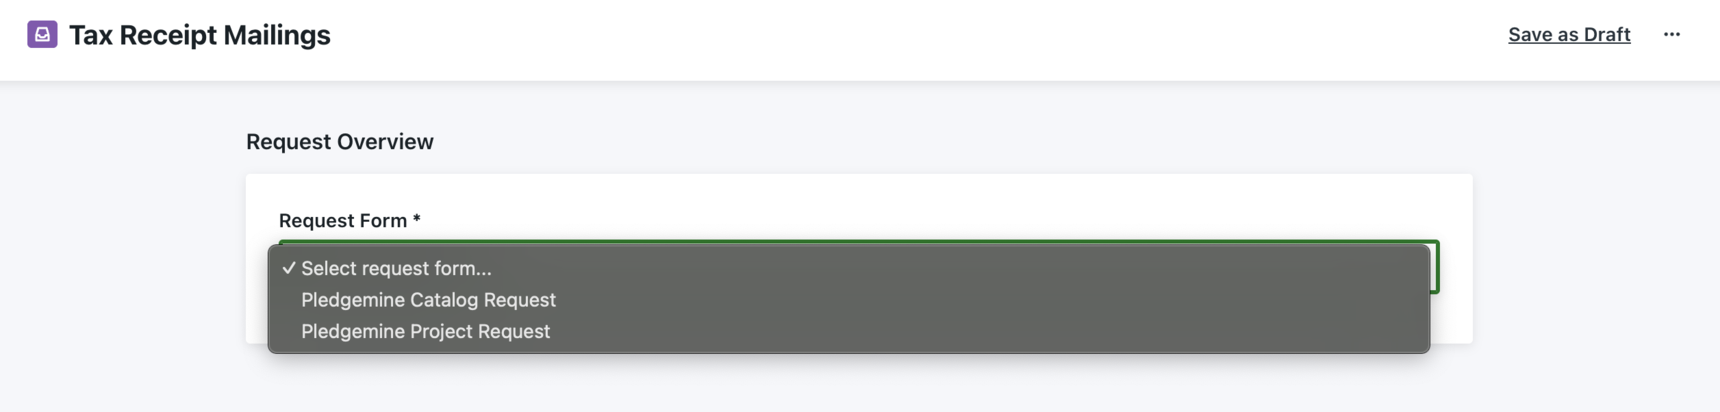
- Select the correct project request form for your needs
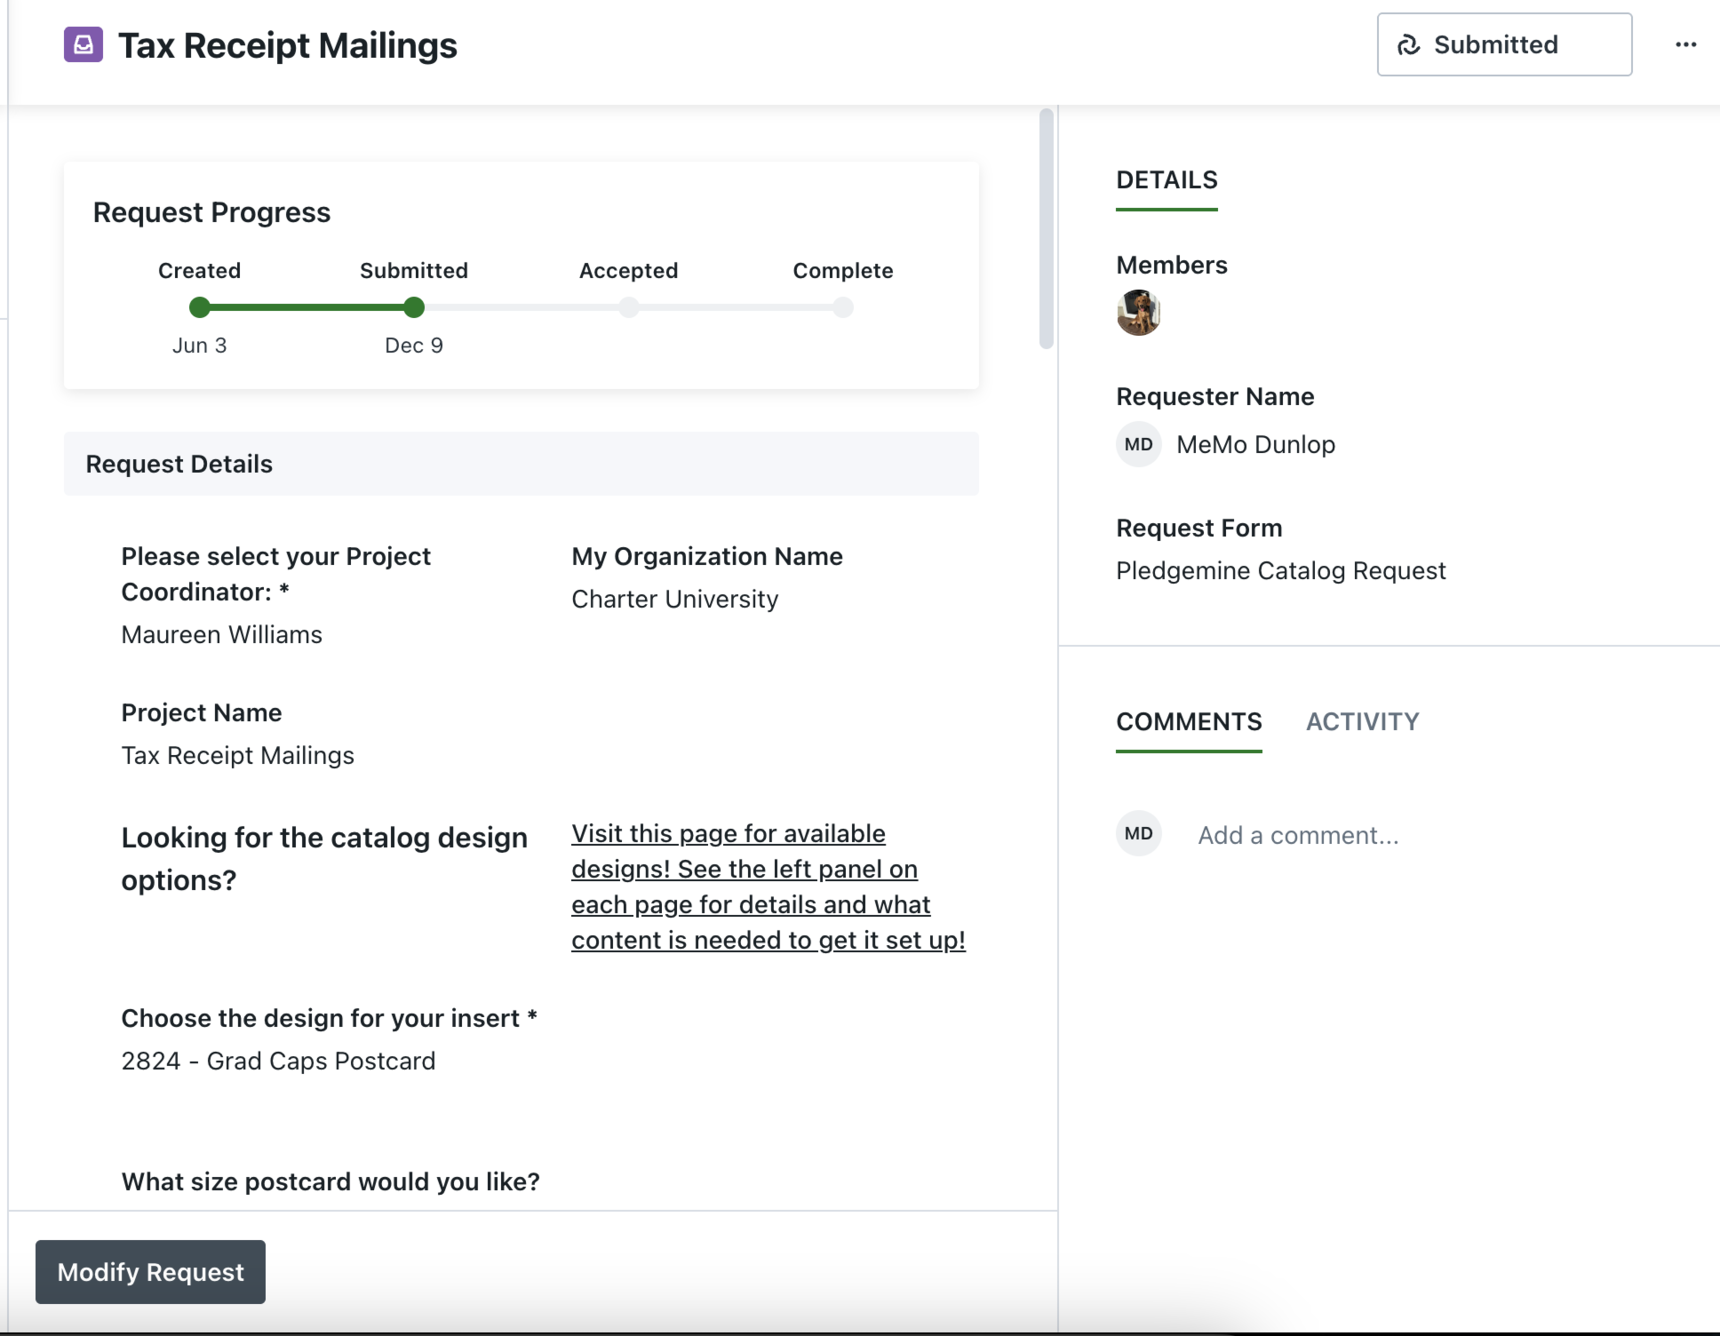
- Fill out the Request Form and hit submit.
Your request is now submitted. Your Project Coordinator (PC) will review materials and get back to you with any questions before starting your project.
- If you forgot to add something, you can modify your request up until your Project Coordinator has reviewed & accepted it. After that, you will have to wait until your first proof is received in order to make any changes or additions.
- If there is any additional important information after your Project Coordinator has received your request, but before a first proof has been sent to you, you can @mention your Project Coordinator (by typing ‘@’ and then begin typing your Project Coordinator's name) in the comment section in the left sidebar of the Project Request Form.
.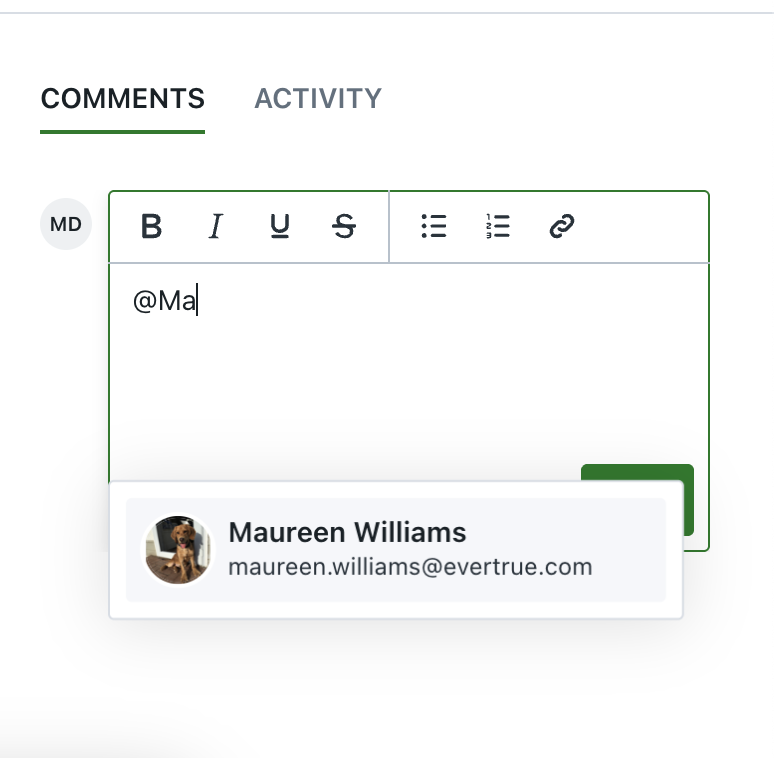
If you do not @mention, your Project Coordinator will not see the additional information.
Proof Exchanges
Getting to your proof
Once your Project Coordinator has finished setting up your project, you will receive a proof within 2 business days. You can view this proof via the link you will receive in a Lytho email. Make sure to add “noreply@lytho.com” to a safe senders list.
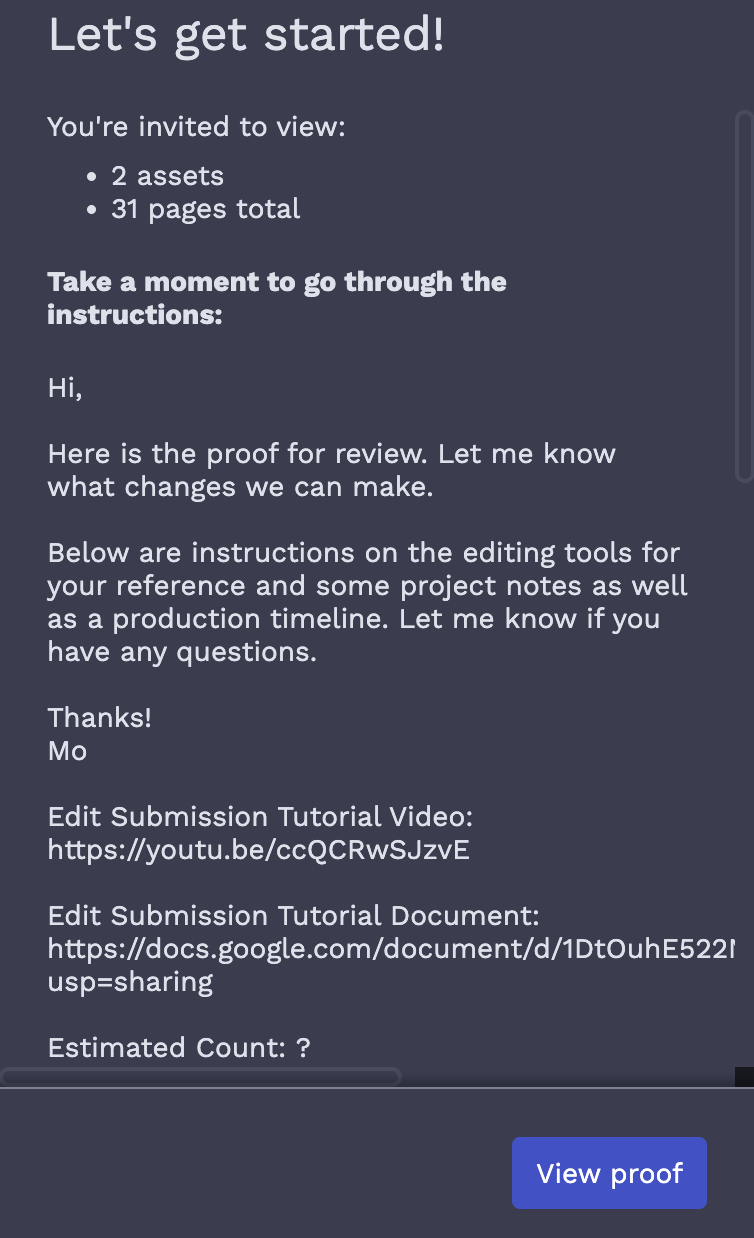
Within the email, click on the Start Your Review Button to view & indicate changes to your proof.
Your PC will leave instructions for reviewing, noting any questions, and letting you know all pertinent information for your project. Please read this information!
Editing Tools
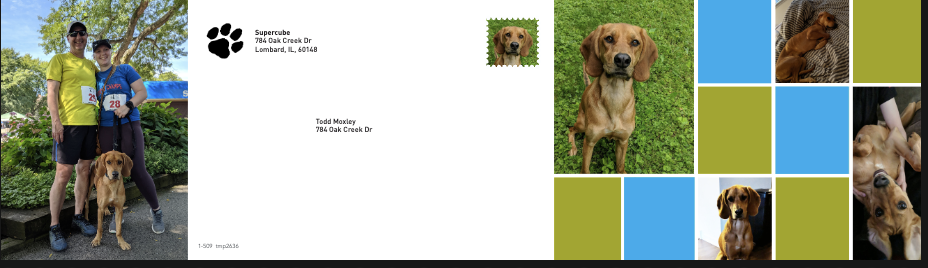
Below is the toolbar available within every proof you will receive in Lytho and a breakdown of what each tool does. Most tools have a comment created in conjunction with the location you've marked up. If a new file is needed for the edit requested, you MUST attach the needed files directly to comments within the Lytho proof.

Hide

This tool allows you to view the proof without seeing the marked comment on the PDFs. Here's a before and after clicking that.
Before:

After:
Pan

This tool allows you to move the pdf around on your screen in all directions.
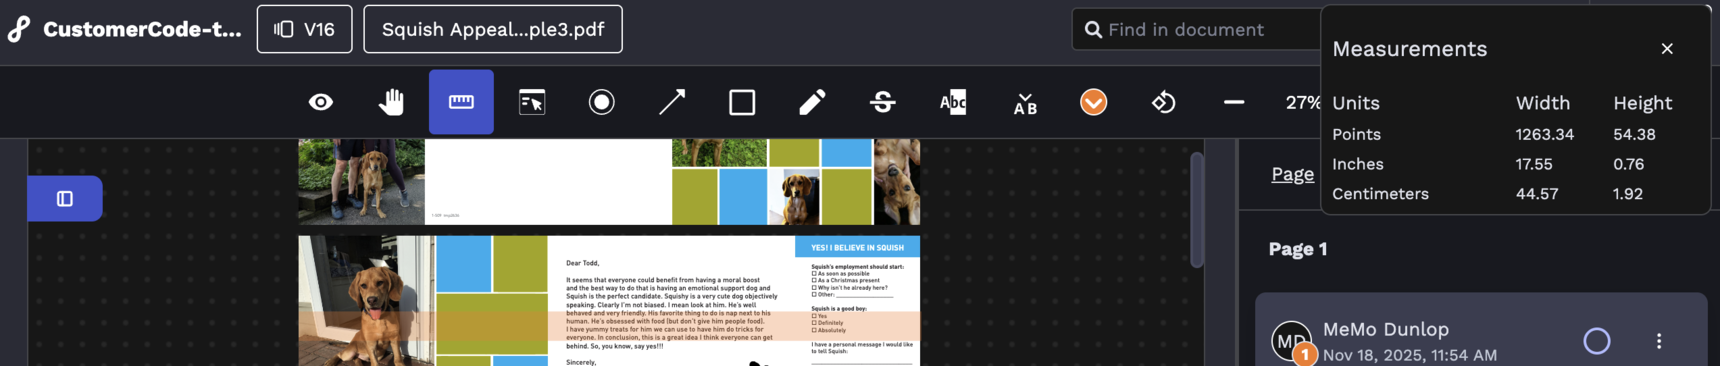
Ruler
This tool will provide measurements for the pdf you're reviewing.
Interactive Mode

This tool allows you to interact with links inside the proof.
Dot

This tool will leave a dot to indicate a change is needed where the dot is placed. A comment will be created to allow you to describe the change needed in that location.
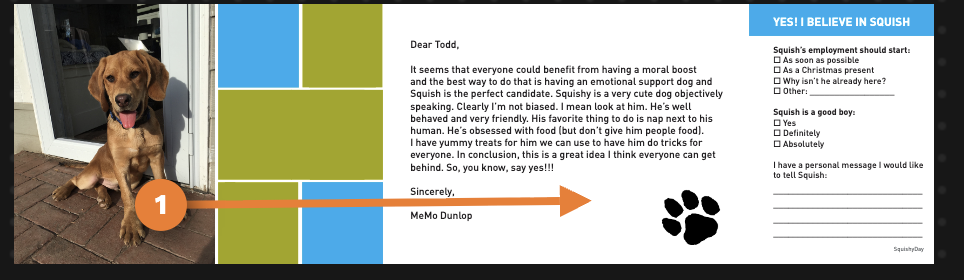
Arrow

This tool allows you to indicate something should move to a new location. A comment will be created to allow you to describe the change needed.
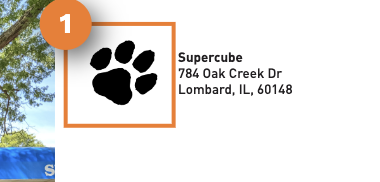
Rectangle

This tool allows you to draw a box around a portion of the PDF you're reviewing. A comment will be created to allow you to describe the change needed.
Freehand

This tool allows you to draw freehand on the PDF. A comment will be created to allow you to describe the change needed.
Strikethrough

This tool allows you to indicate that some text should be removed from the pdf. It will create a comment with the words you've indicated should be removed.
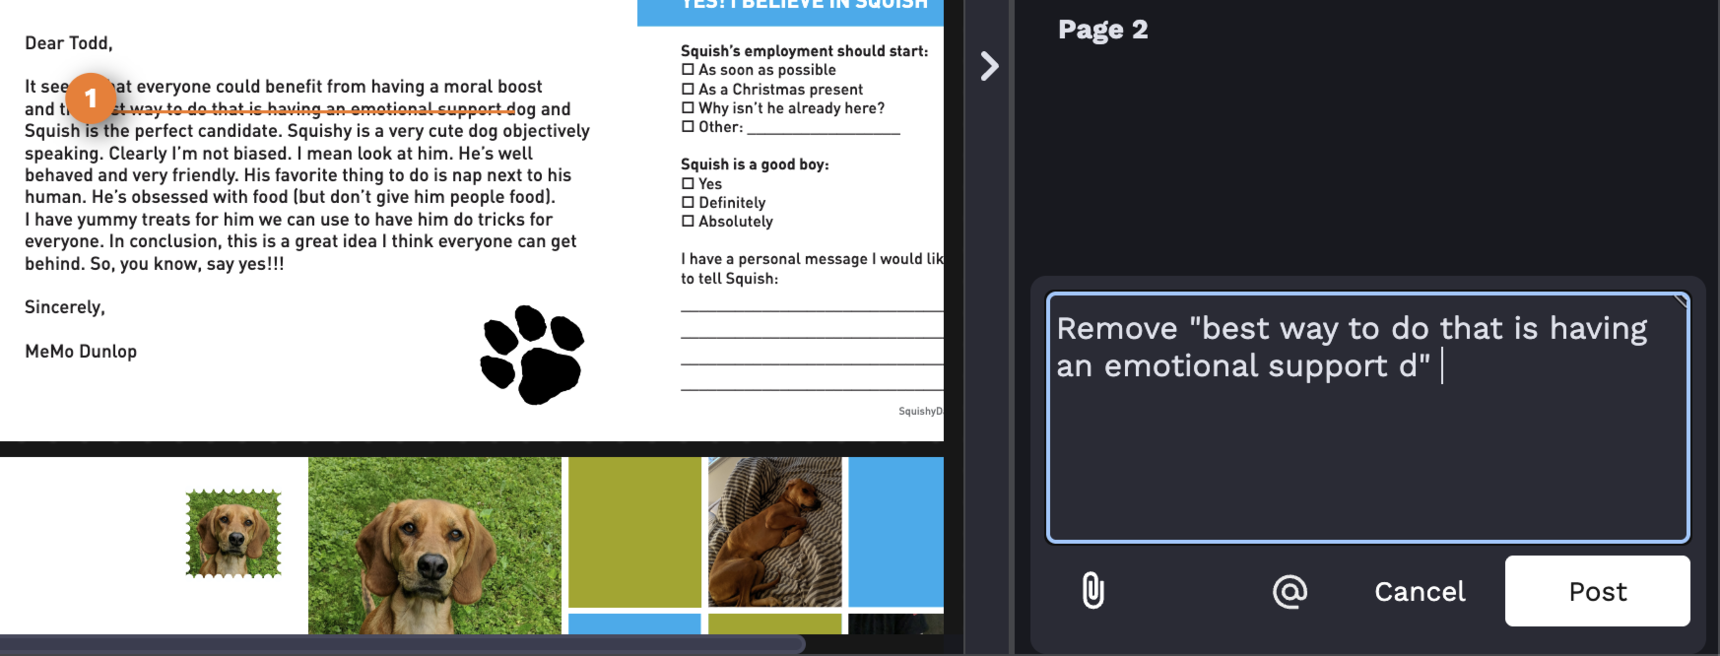
PRO TIP: Add the word Replace with and insert the new text you'd like in that place inside quotation marks. No need for two comments!
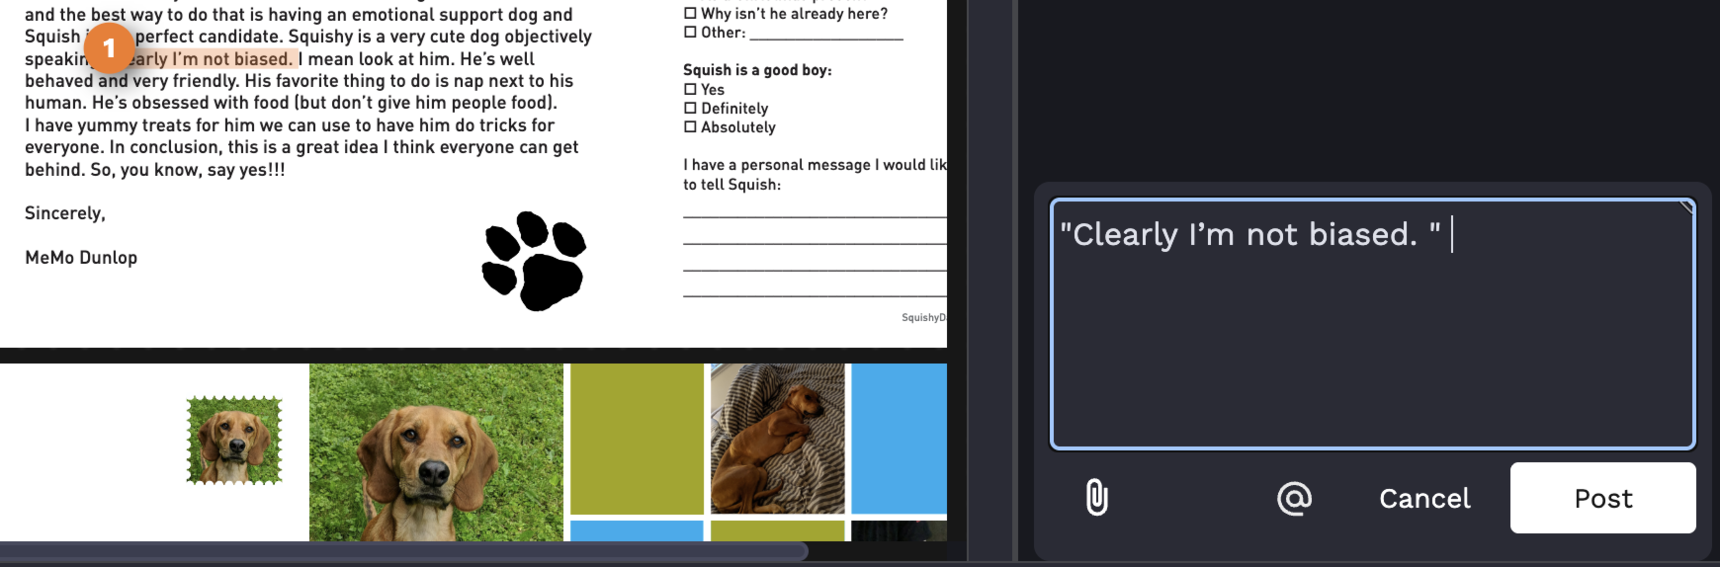
Highlight
This tool allows you to highlight text to indicate a change is needed. A comment will be created for you to indicate what change is needed.
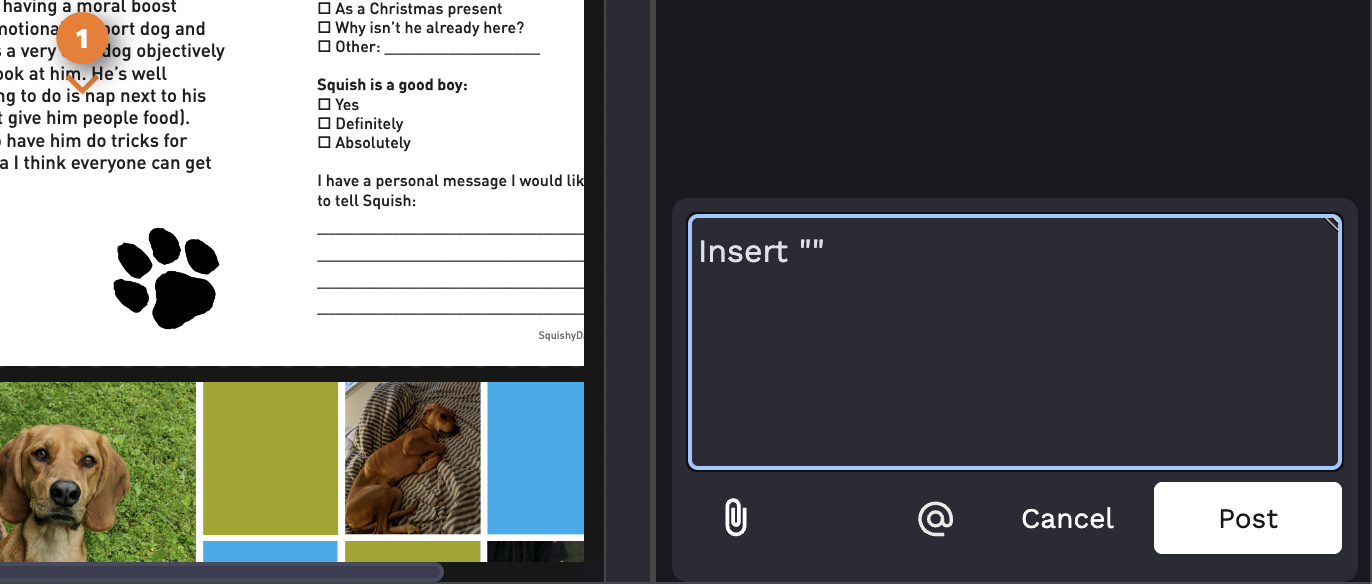
Insert
This tool indicate a location that you'd like to insert text. A comment will be created to allow you to type or paste in the text you'd like inserted in that location.
Choose annotation color
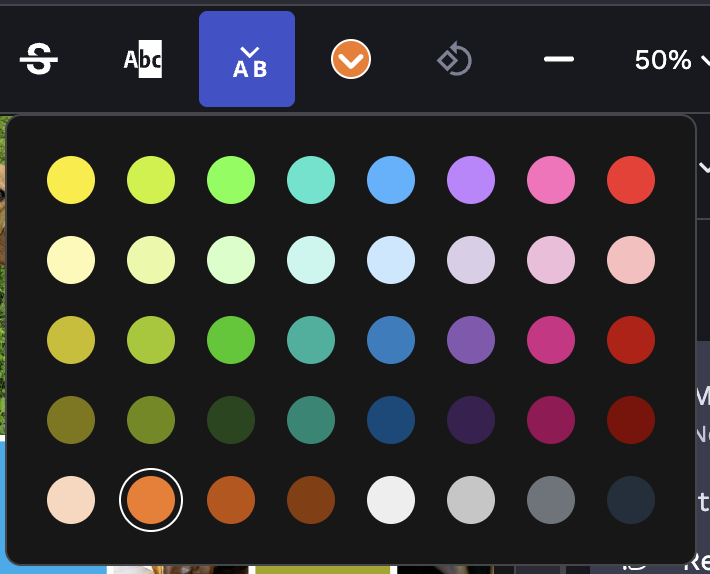
This allows you to change the color of all the markings you have made within the proof. Sometimes this is helpful to change if the random color chosen is too close to some of the colors within the design we've made.
Rotate canvas

This tool will rotate the canvas 90 degrees.
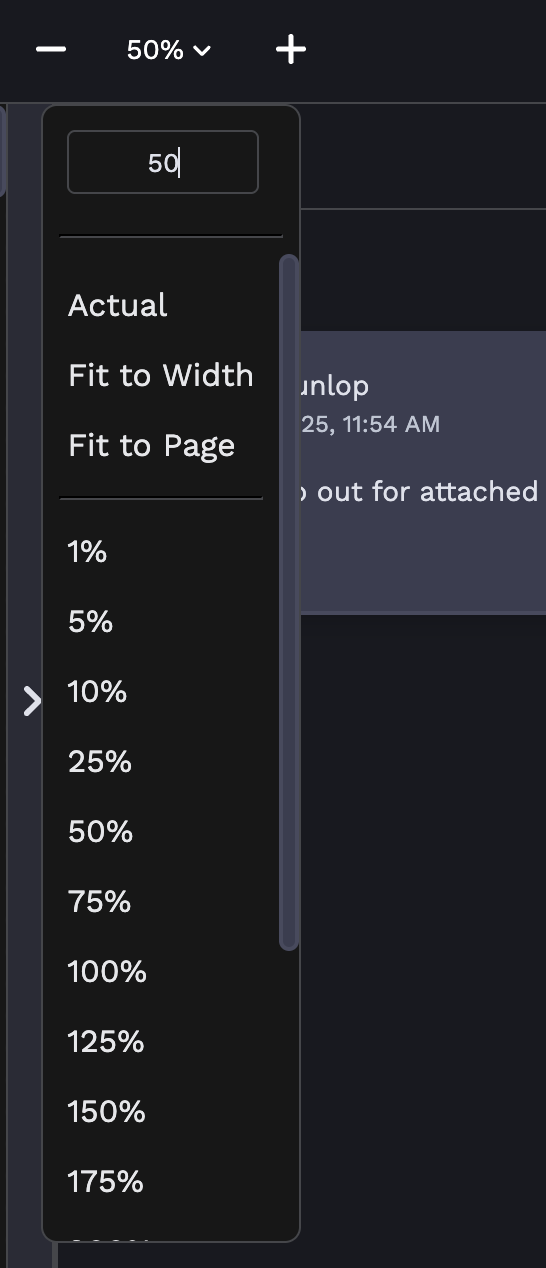
Zoom Options
Returning Proofs
Once you have made your changes, you must select a status for each page of your proof. You'll notice that you have the option to select a status for the page you're currently viewing, the asset you're currently viewing or all assets in a proof. Below is a description of the options you have to select from.
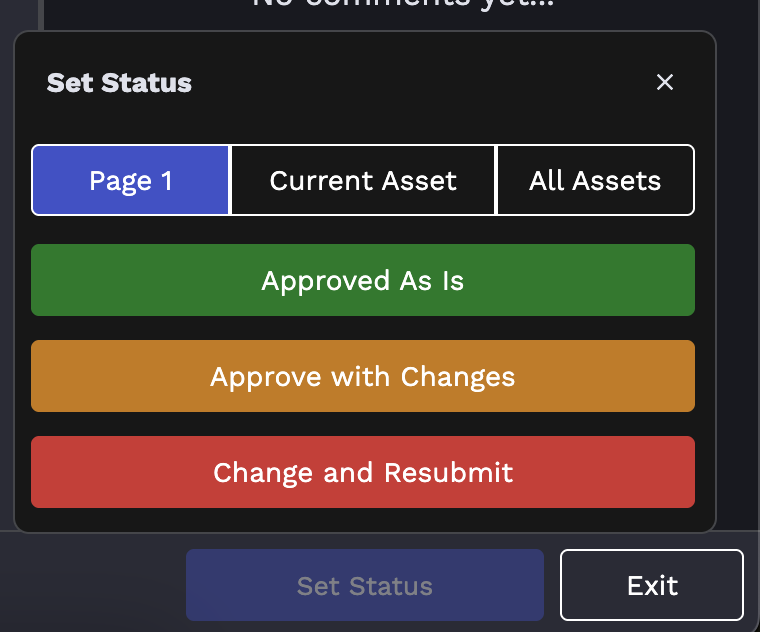
PRO TIP: If any pages have changes, feel free to select "Change and Resubmit" for all assets.
Statuses Available
Approved As Is: There are no changes to be made on this page. If all pages have this status, your PC will move your project into production. You should only select Approved As Is on all pages if Pledgemine has your final data set. If you have not reviewed a merged live proof, then we cannot send it through to production, and the proof will not be considered approved. Instead, we will reach out asking for data from you. Once received, you will get a new review that includes the data merging in for approval.
Approved With Changes: There are changes to be made but they are minimal, and you anticipate approving after reviewing those changes. You will still receive an additional proof within 2 business days to review and approve before we can move it into production.
Change And Resubmit: Changes need to be made and we will submit an additional proof to you within 2 business days.
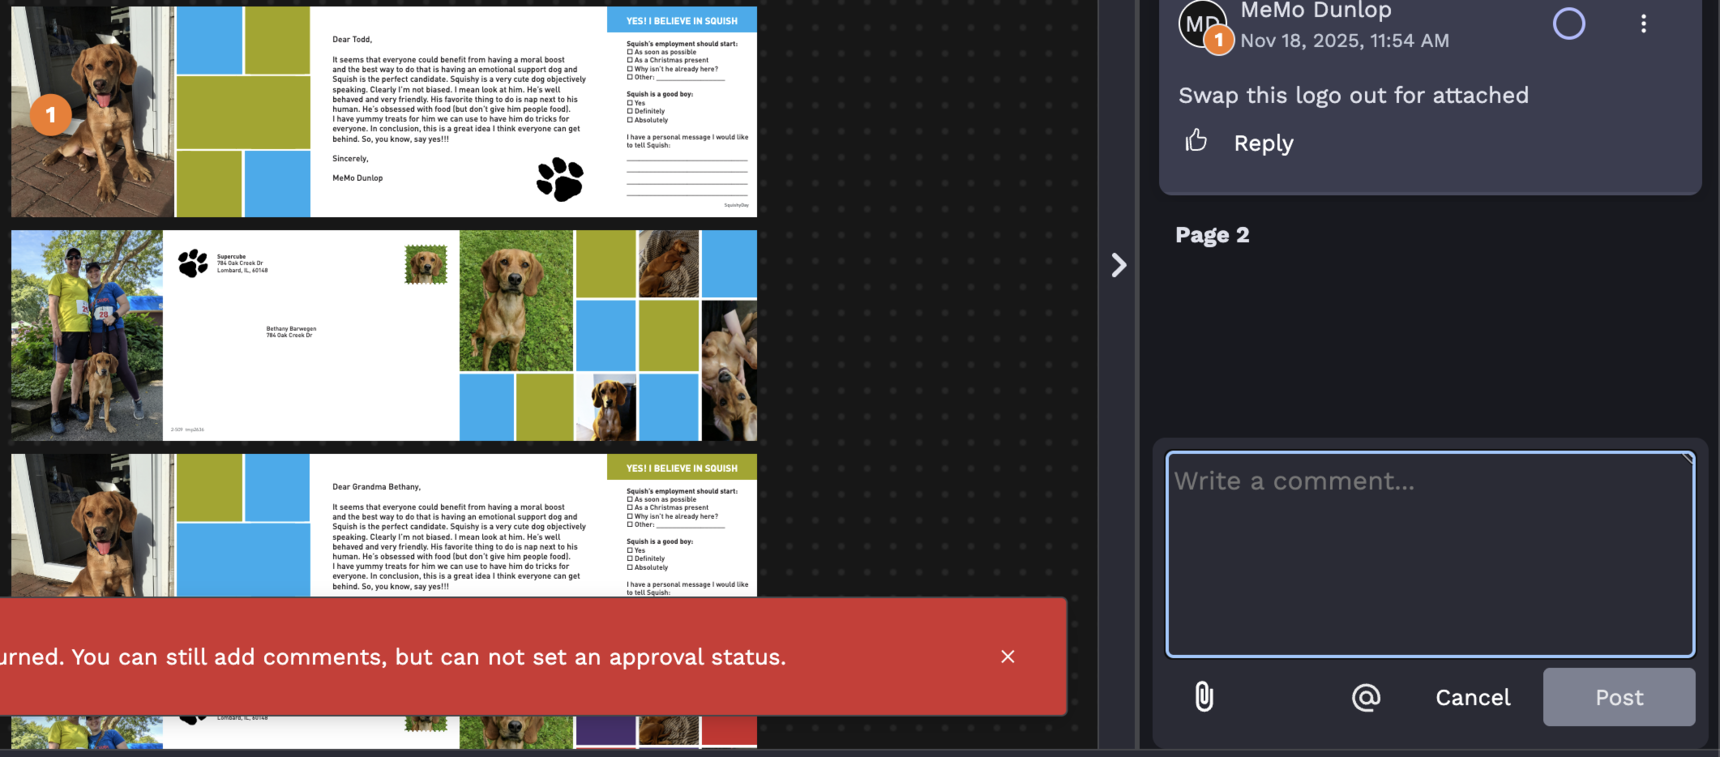
When setting statuses, until one has been selected for all pages the button in the bottom righthand corner will read "Exit".

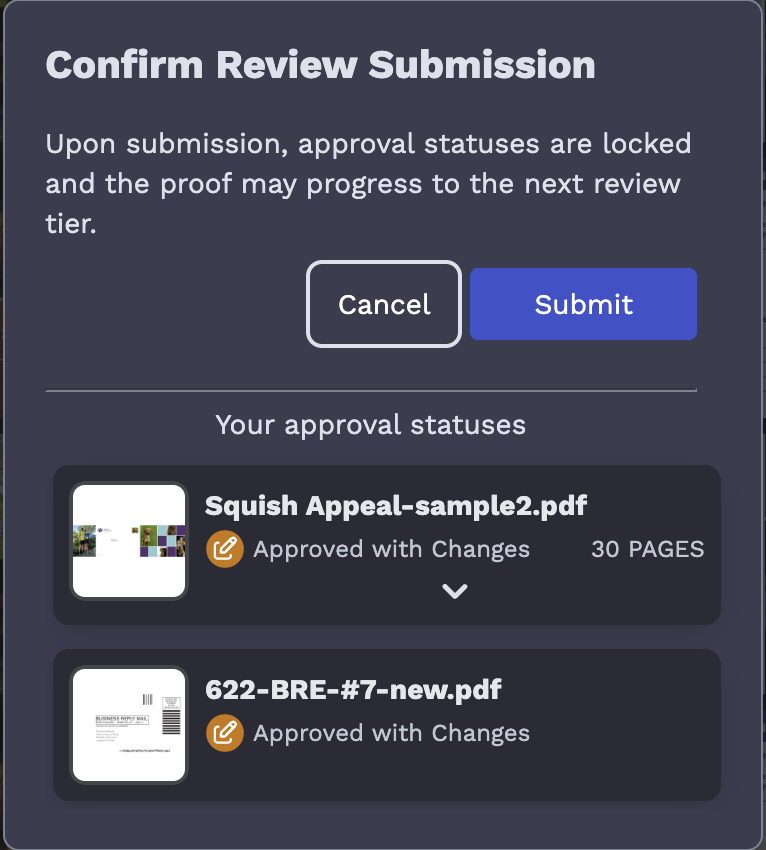
Once a status has been set for all pages, that button will then read "Submit". This is your indication that hitting this button will send it back to Pledgemine for changes.

When you hit that button a pop-up will appear allowing you to have one final review of the status selections you've made. Hitting submit here is the final step to return a proof back to Pledgemine.
1 reply
-
Making a New Project Request
Can we add a section here please about declined requests? What it means and what would need to happen on their side to get it resubmitted?
Content aside
- 2 wk agoLast active
- 1Replies
- 404Views
-
3
Following